Open Source BotDigg Robot Arm
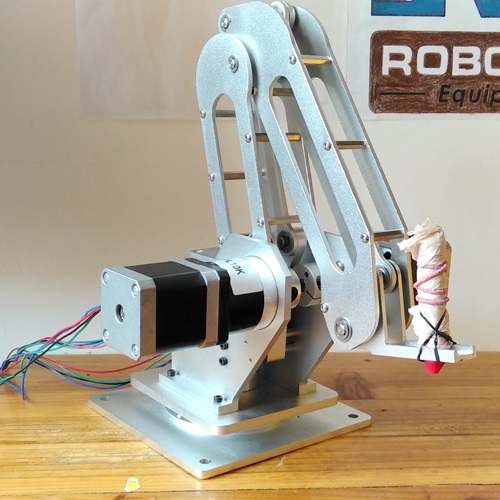
This is not a 3D printer, but a writing graphics robot arm, we name it BotDigg Robot Arm.
The full configuration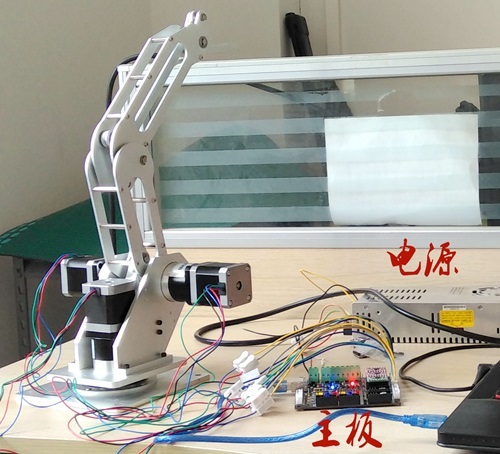
This assembly is still very original ah, ah, very original ... ...
We first look at how the line is connected:
First of all three stepper motor drive chip, pay attention to the direction of the other anti-anti, it's better use heat sink above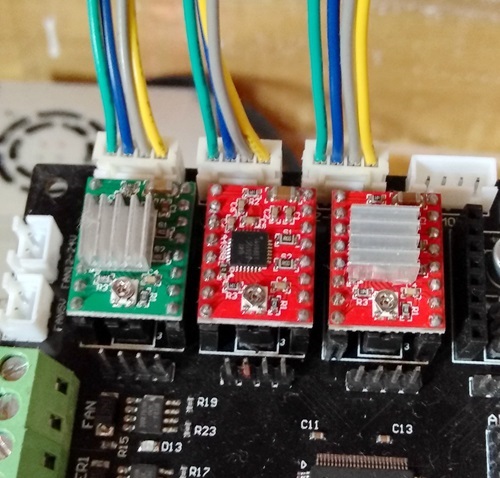
This small package of black blocks is set to drive the subdivision, three 16 subdivided, inserted in the driver chip below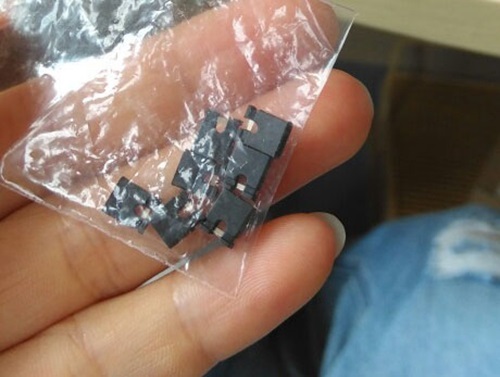
Then three motors: green black and blue, pay attention to XYZ axis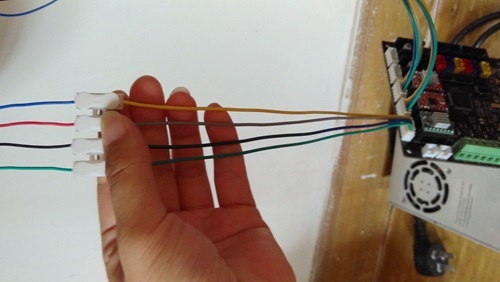
Power connection: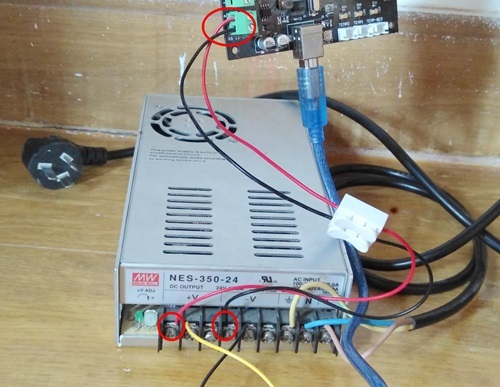
USB port connection: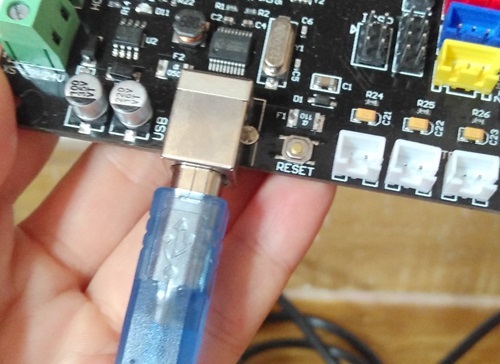
And then install the software
Relatively speaking, this machine is very simple, only two points to note, one is the current regulation, if the current is too small it will not move, if the current is too big the chip will be too hot .
Driver chip has a small knob on the pot, you can adjust the current through it.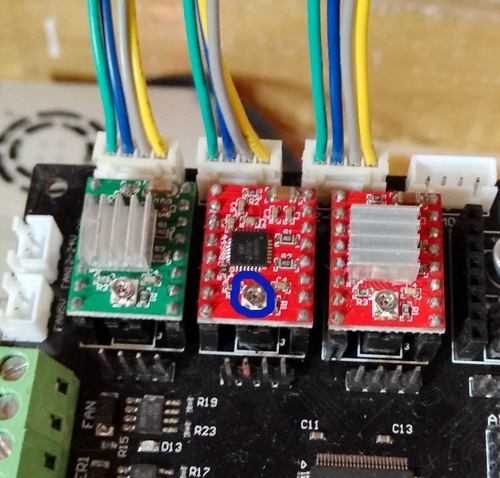
How to tune it?
Give you a multimeter, the multimeter hit the voltage file, the pole is connected to a potentiometer lead angle, negative USB port metal shell, screwdriver rotary potentiometer, our motor rated current is 1.2A, after the operation of the voltage 0.89 V, multimeter shows 0.89V on it!
The second problem is that loading the GCODE file may not be succeeded.
Use Notepad to open this GCODE file, delete all the code except G0 and G1. And then you can.
Its route is the same with the 3D printer, coupled with the extrusion head can be used when the 3D printer, with a laser head can also do laser engraving.